
Migrating a WordPress Blog to Azure WebSites

For nearly two years, this site has been running over at WordPress.com and things have been great. WordPress provided everything that I needed to really get the blog off of the ground with no financial commitments of any kind, which was a big deal in the beginning. It had no hosting fees, incredible easy to use and tons of features that I didn’t even begin to touch on. Despite all that, I thought that it was time to get around to hosting the site myself, getting a new domain, throwing a fresh coat of paint on it and bringing it into the cloud.
This post covers my experience in migrating my existing WordPress.com blog over to an Azure Website.
Setting up an Azure Account
Microsoft Azure offers a free area that functions very similarly to sites hosted at WordPress.com (e.g. sitename.wordpress.com) with the obvious exception being the domain it is hosted on (e.g. sitename.azurewebsites.net). The first thing that you’ll need to do is actually create an account with Azure, you can do this by visiting the link below :
You’ll be presented with the following screen to enter in your information :
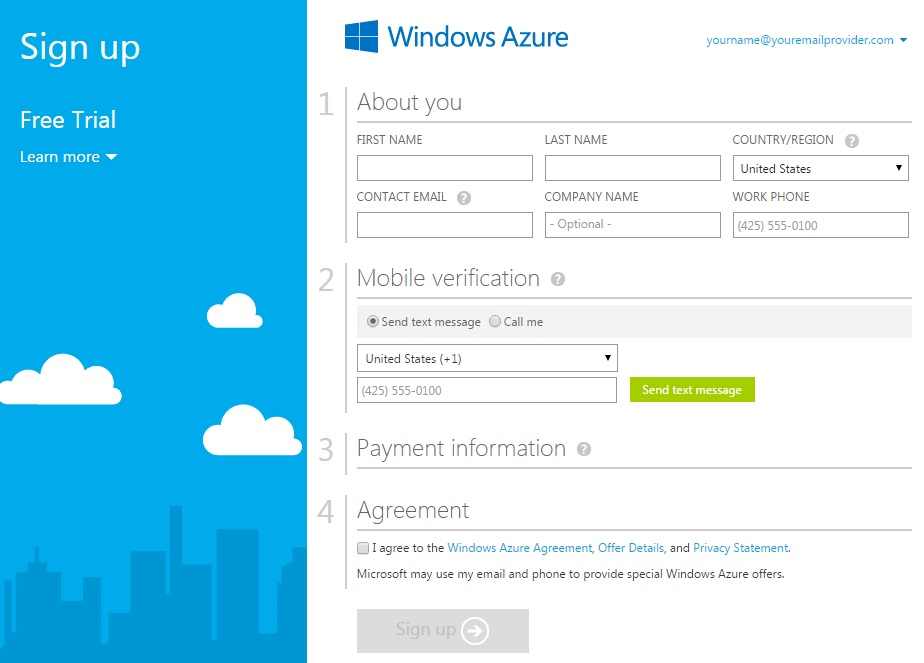
Although you might be afraid of entering in your Payment information, don’t fret. Azure Websites are entirely free as long as you don’t plan on using a custom domain or anything like that, which I’ll cover in a follow-up post.
Building your WordPress Site on Azure
Azure Websites make it incredibly easy to quickly spin up a site in a variety of different flavors and technologies. It only takes a matter of minutes to get WordPress (along with all of its associated technologies) up and running.
After creating an Azure account and logging in, you’ll be met with the Azure Dashboard or Portal screen. Depending on your preferences, it should look like one of the following :

or :

From the Portal, you should see a large New icon located in the bottom-left corner. You’ll use this to actually create your new Azure Web Site through the following steps :
- Click the New icon from the Azure Portal.
- This will present a New Dialog that provides several choices regarding exactly what you want to create. Choose the Compute > Website > From Gallery option as seen below :

- You should then be presented with the Add Web App dialog. Browse through it until you find the WordPress option and select it :

- You’ll next need to define the name for your site, indicate if you want to create a new database or use an existing one and select the region that your site is going to primarily target :

- After clicking OK, you’ll get to sit back and wait a few minutes while Azure builds your site. You should then see your site up and running under the WebSites area of the Azure portal :

At this point, you can navigate to your Azure WordPress site (yoursitename.azurewebsites.net) and configure your account :

When that is all done, you will have a pretty empty site sitting around. The next part of this tutorial is going to do something about that.
Migrating your Data from WordPress
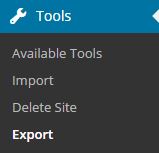
Actually pulling down all of your data from your existing WordPress site is incredibly easy. If you log into the Administration area for your existing site, you should see an option for Exporting your site, Click it!
This will offer you the following two options :
- Export (Free) -
Create an XML file containing your posts and comments for you to save or import into another WordPress blog. - Guided Transfer ($129) -
One of our Happiness Engineers will transfer your site to a self-hosted WordPress.org installation with one of our partners. They will transfer over all your content, install and configure plugins to support features you have used on WordPress.com, switch your domain(s) over, and provide support on your new WordPress.org install for a two-week period.
Unless you feel that your handful of clicks over the next few steps is worth more than $129, you should use the Export option. After clicking export and not throwing away any money, you’ll be presented with the following screen asking your exactly what you want to export out of your existing site :

Click the “Download Export File” button, which will prompt you to save an XML file to your local machine and that’s it. You are done with your old site with regards to data and still $129 richer.
Populating your Azure Site
Now that you have an XML file containing all of the data for your old site, you need to actually import it into your Azure site running WordPress. This process is surprisingly just as easy.
Prior to migrating, take one last look at the current site (yoursitename.azurewebsites.net) prior to the migration for the memories (and a nice before and after) :

After saying your good-byes, go to the same Tools area located in the Administrative Dashboard of your Azure WordPress site (yoursitename.azurewebsites.net/wp-admin/) and choose the Import option :
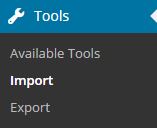
Clicking the Import option will reveal several different methods for how you want to import data into your site. Click the WordPress option :

You’ll be prompted to install a WordPress plug-in called WordPress Importer, which you’ll need to do. This plug-in will handle mapping all of the data from your previous site to your new Azure site. After it has installed, click the Activate Plugin & Run Importer option that appears :

In the next step, you’ll be prompted to upload the XML file that you previously received from exporting your existing WordPress site. Select it and choose the Upload File and Import option. This will present you with the final dialog to complete your migration, which asks you who you would like to associate the data being imported with (e.g. a particular user within your site) and if you want to import any attachments and files that were present in your old site (this is necessary if you have images uploaded or being hosted through your WordPress site) :

After clicking Submit, the Import process will begin. Depending on the amount of content within your site, it can take a bit of time to complete (sometimes several minutes) so you just need to be patient. I’ve found that on sites with extremely large amounts of content, it can appear to “freeze” after starting the process and this generally just requires you to import the XML file again until everything is resolved.
If everything goes well, you should be able to navigate to your WordPress Azure site and see all of the content from your previous site :
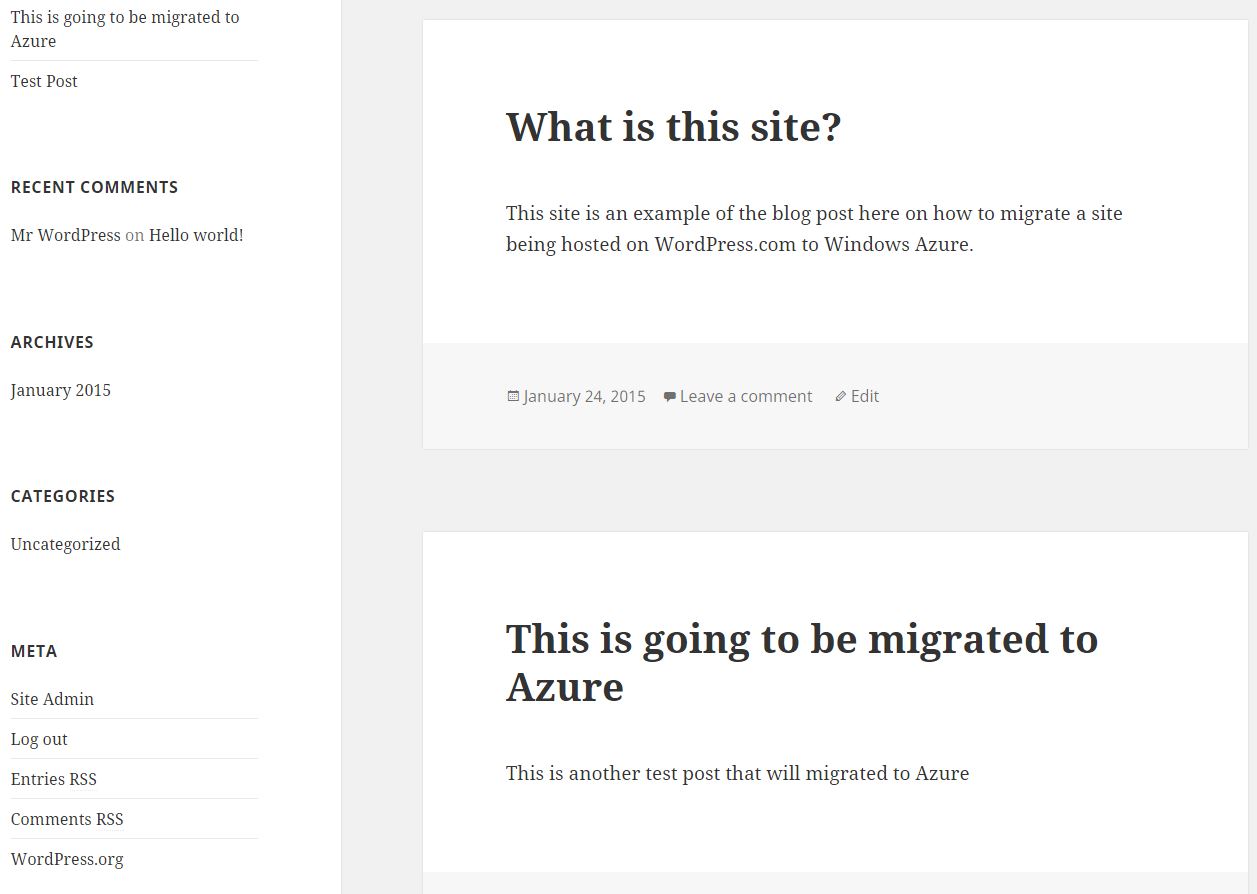
And that’s it, all of the data and content from your previous site should be available on your new Azure Website. You can see both of these sites in action at the links provided below :
A Few Considerations
There are a few things to consider after completing your migration :
Resource References
You’ll likely notice that any resources that you had on your site (e.g images or attachments) are still going to be pointing at your WordPress.com site. You should be able to resolve through the following steps :
- Edit the post where the bad reference is present.
- Right-click on the content in question and edit it.
- Click the Replace option below the preview of the image on the right.
- This will replace the older reference to your WordPress.com site with the appropriate Azure reference.
Domain Redirection
If you want to begin redirecting your traffic to your new site from your old one, I have yet to find a free approach at handling this. WordPress.com features a service that you can purchase for $13/year to handle redirecting all of your traffic to the appropriate pages in your new site. The one major caveat to this is that you will need to ensure that your permalink structure matches exactly.
Custom Domain
Using a custom domain will require a few changes throughout your site, which I will cover in a follow-up blog post. It’s not that difficult to implement, but requires several configuration changes within Azure and the DNS settings for your existing domain.